

What Happens During a Professional Eavestrough Installation
New eavestroughs are one of the most important exterior upgrades you can make to protect your home from water damage. But if you have never had them installed before, you may not know what to expect.
Here is a step by step look at what a professional eavestrough installation involves, and why each step matters.
1. Assessing the Home
A good installation starts with a close look at the house. A contractor will typically check:
- The size and pitch of each roof section
- Where water collects and flows during heavy rain
- The condition of the fascia boards
- Existing downspout locations
- Where water is draining around the foundation
- Any problem areas like valleys, where two roof sections meet
This helps determine the right eavestrough size, the number of downspouts and where they should go.
2. Choosing the Right System
Next comes choosing the system that suits your home. Decisions usually include:
- Size: 5 inch or 6 inch eavestrough, depending on roof size and water volume
- Material: Aluminum is the most common choice for Ontario homes
- Colour: Matched or contrasted with your soffit, fascia and siding
- Downspout size and placement
- Gutter protection: Whether to add a system such as Alu Rex to reduce debris
3. Removing the Old System
If you are replacing existing eavestroughs, the old system is carefully removed, along with old hangers and fasteners.
4. Inspecting the Fascia
With the old eavestroughs off, the fascia is fully exposed. This is the best time to check for:
- Rot or soft wood
- Water staining
- Loose or damaged fascia capping
New eavestroughs need a solid surface to attach to. If the fascia is damaged, it should be repaired before installation. Hanging new eavestroughs on rotted fascia can lead to sagging and failure.
5. Forming Seamless Eavestrough on Site
Many professional installers use seamless eavestrough, which is formed on site from a coil of aluminum using a specialized machine.
Each piece is made to the exact length of the roof section. That means:
- Fewer joints along the run
- Fewer places for leaks to develop
- A cleaner, more finished appearance
Seams are only needed at corners and where sections meet.
6. Setting the Slope
Eavestroughs need a slight slope toward the downspouts so water does not sit in the trough. A common guideline is about a quarter inch of drop for every ten feet of eavestrough.
Too little slope and water pools. Too much and it can look uneven from the ground. Getting this right is one of the most important parts of the job.
7. Securing With Hangers and Installing Gutter Protection
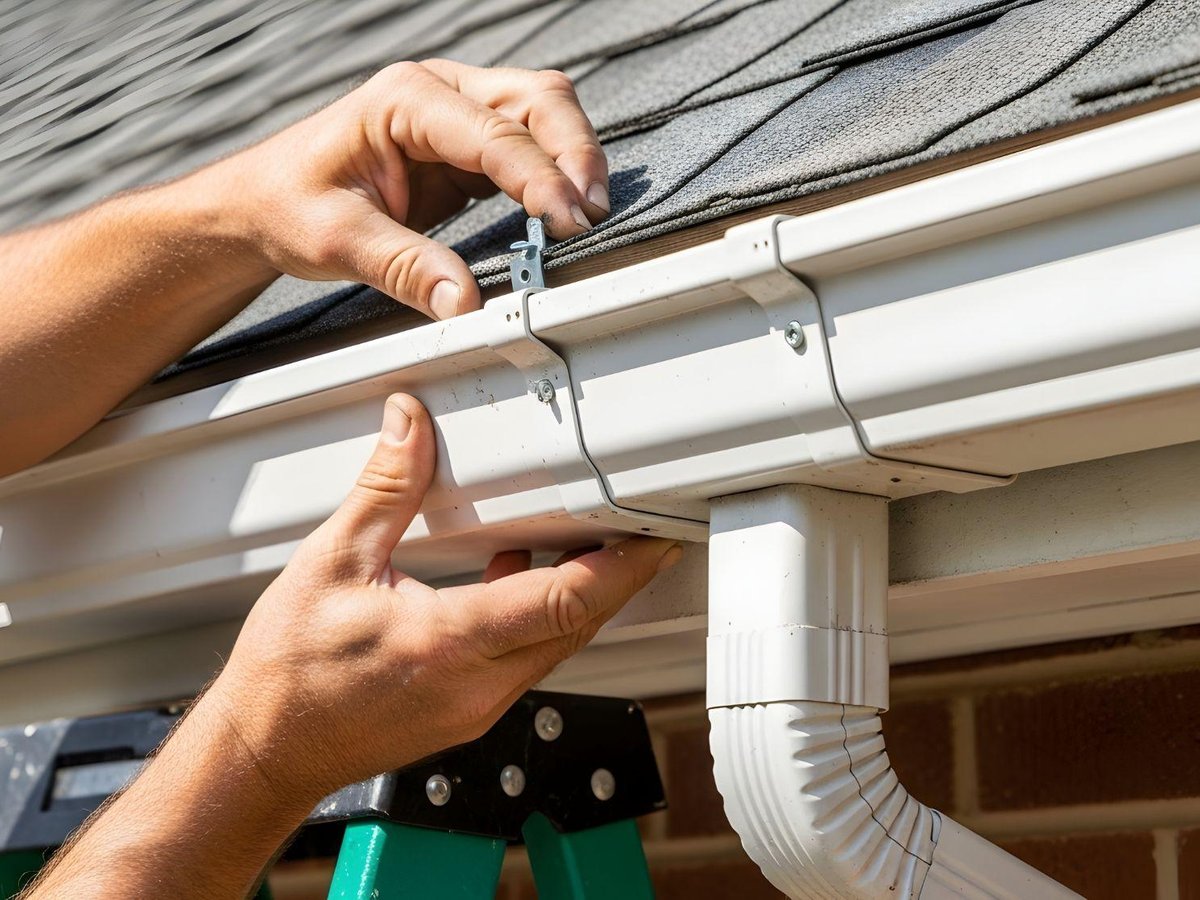
The eavestrough is fastened to the fascia with hangers spaced along its length. Hidden hangers are commonly used because they sit inside the trough and are not visible from the ground.
Proper hanger spacing helps the system handle the weight of water, snow and ice without sagging.
If gutter guards are part of the project, they are installed at the same time as the hangers rather than added afterward. Fastening the guards as the eavestrough is secured gives a stronger, cleaner finish. Gutter protection helps keep leaves, pine needles and debris out of the system, which is especially helpful for homes surrounded by trees.
8. Sealing Corners and End Caps
Corners, end caps and outlets are sealed with a sealant made for exterior eavestroughs. These are the areas most likely to leak if they are not done carefully.
9. Installing Downspouts
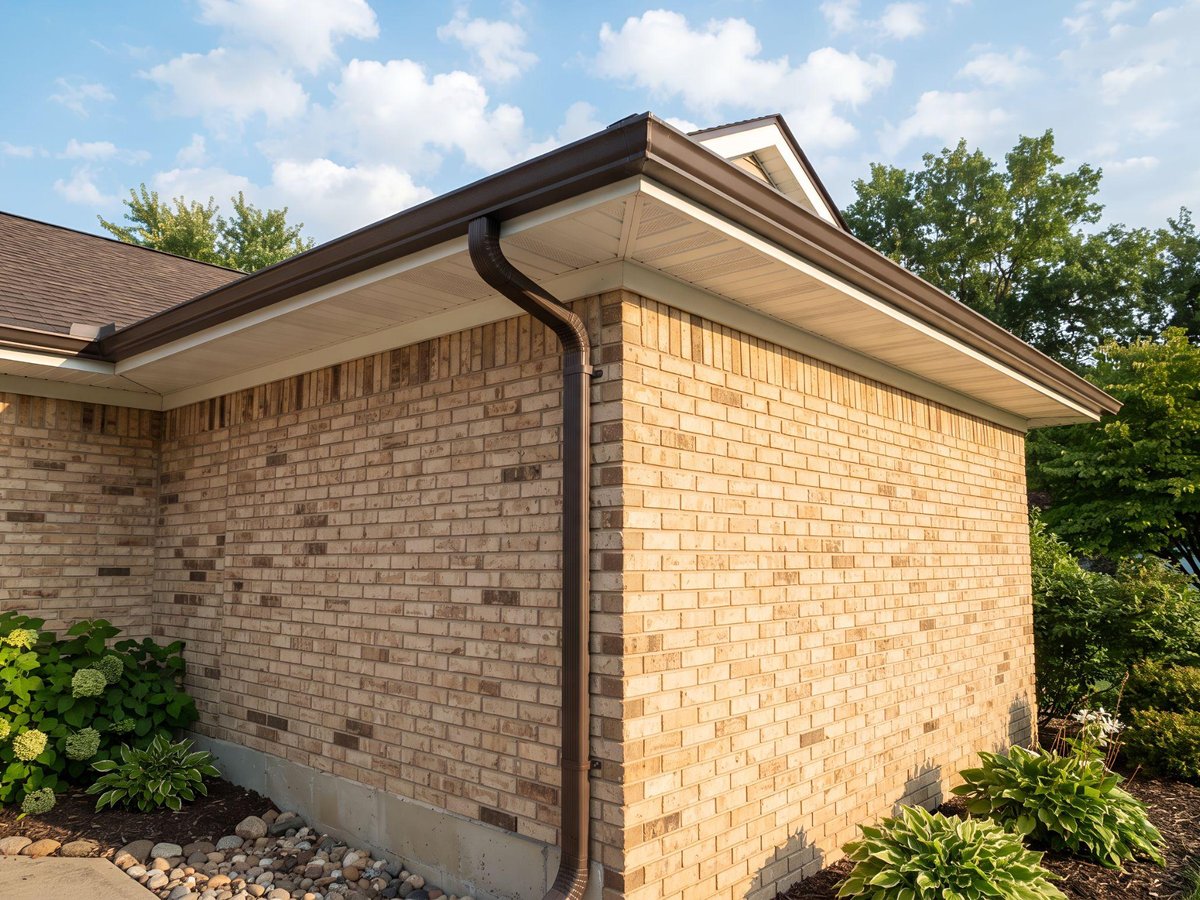
Downspouts are connected at the outlets and run down the side of the house. Good downspout placement:
- Handles the amount of water coming off each roof section
- Avoids walkways, doors and driveways where possible
- Directs water away from the foundation
Extensions or splash pads are added at the bottom to move water a safe distance from the home.
10. Final Check and Cleanup
Once everything is in place, the system is checked for proper slope, secure hangers and sealed joints. Old materials and debris are cleaned up and removed from the property.
How Long Does Installation Take?
For many homes, eavestrough installation can be completed in a day. Larger homes, complex rooflines or projects that include fascia repairs or gutter protection may take longer.
Why Professional Installation Matters
Most eavestrough problems we see come down to installation:
- Incorrect slope
- Too few downspouts
- Poor hanger spacing
- Weak or rotted fascia underneath
- Poorly sealed corners
- Undersized eavestroughs
A well installed system should move water away from your home reliably for many years.
Eavestrough Installation in Barrie and Simcoe County
Reynolds Brothers Exteriors provides professional seamless eavestrough installation and replacement throughout Barrie, Orillia, Innisfil, Springwater, Collingwood, Wasaga Beach, Newmarket and surrounding communities.
From assessment to cleanup, our team takes care of every step so your new eavestroughs are built to handle Ontario weather.
Contact Reynolds Brothers Exteriors today to request a quote for eavestrough installation.
Lorem ipsum dolor sit amet, consectetur adipiscing elit. Fusce quis bibendum ipsum.





.png)


